
Freightliner, maker of big trucks, went as big as it gets with a media event in May by using advanced projection mapping to turn Hoover Dam into one big projection screen. It took 60 high-powered projectors to cover the surface of the dam, which spans the area of about 9 football fields.
What does this have to do with MIDI Designer? Nothing directly, but when Dan shared it with me, it got me to thinking about dreaming bigger.
First, though, I’ll introduce myself for those of you who may not know me. My name is Clif Johnston, and I’m the founder/president of Apptronica, and author of a couple of . I’ll be doing a bit of guest posting here on the MD blog to share some thoughts on using the iPad as a control interface using MIDI Designer Pro.
My main focus in life is making music on iOS devices. A few days ago someone asked why anyone would want to use an app like MIDI Designer to control other apps – why wouldn’t you just use an app’s existing controls? The answer lies in dreaming bigger: control more; control better; control differently.
Control More
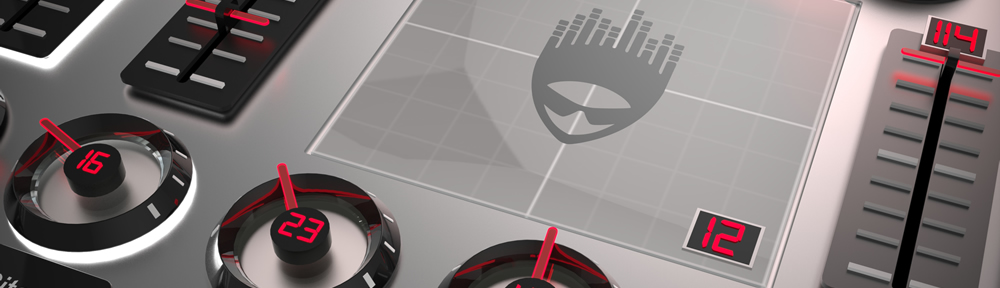
Layouts for two Source Audio Pedals, the Manta Bass Filter and the Bass OFD
Custom control interfaces are helpful, and even necessary sometimes, if you’re using multiple apps, VST synths, hardware synths, or a combination of those. Beyond just having all of the necessary knobs and sliders within reach, combining controls into a single interface opens up interesting options for controlling multiple parameters across your setup at the exact same time.
For example, you might set up a single X/Y control to adjust the filter cutoff and resonance on 2 synths at once. You could also use a single set of program change controls to move seamlessly through a live set without trying to navigate a list of preset changes in the middle of a performance.
Control Better

Animoog for iPhone
If you’re using music apps on an iPhone or iPad mini, the controls can be so dense sometimes that they’re next to useless for live performance. This applies to software VSTs as well, especially when you’re running half a dozen at the same time. Creating your own control layouts allows you to enlarge and expand certain controls while removing those you don’t use.
The precision of controls can be improved using many of MIDI Designer’s features. For example, you can reduce the number of ticks on a knob, which in turn reduces the number of discrete values to be sent. This can be handy if you’re only interested in fractional increments (e.g. 1/4, 1/2, 3/4, 4/4), making setting the desired values much easier.
There’s also a “Long Throw” option for sliders, knobs, and crossfaders which slows the movement of the controls, leading to smoother and more precise parameter changes. This is especially handy for things like volume or tempo where a quick change can lead to very undesirable results.
Control Differently
iPulsaret Performance Layout
You may find that a slider or X/Y control provides a better interface for you than the set of knobs provided by the developer. Perhaps a row of buttons with discrete values better fits your needs than a single continuous control.
MIDI Designer also allows you to create custom keyboards, opening up some interesting options not readily available in some apps or software. You could create a keyboard that operates vertically instead of horizontally. You could set up a keyboard to restrict notes to a certain scale. You can even use hex shaped buttons to create your own isomorphic keyboard layouts.
What’s Your Dream?
This is just a quick example of a handful of ways to use MIDI Designer layouts to improve your workflow or live performance setup. There are tons of possibilities, but it’s really the ability to create personalized layouts that do exactly what you need them to do that makes MIDI Designer such a valuable tool.
Let me know in the comments what you’d like to be able to do with a custom controller. If you’re already using MIDI Designer in an innovative way, please share so that your ideas can inspire others.